

この記事はこんな人にオススメ!
- おしゃれで本格的なアドベントカレンダーを手作りしてみたい
- どの花屋で資材を購入したら良いのか分からない
- 作り方が詳しく知りたい
 fuu
fuuセンス抜群のおしゃれなゆうさんのアドベントカレンダー!
(見た瞬間一目惚れしました♡)
同じようなものが作りたい・・・と思い、
恐縮ながら真似させていただきました。
興味のある方は、是非一緒に作ってみましょう!
後悔なし!リアルな家づくりの始め方の
レビューはこちら

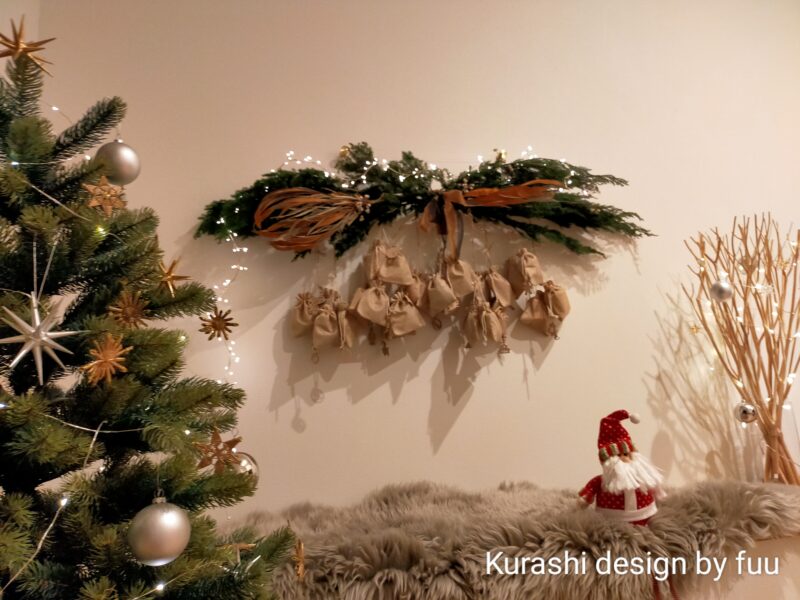
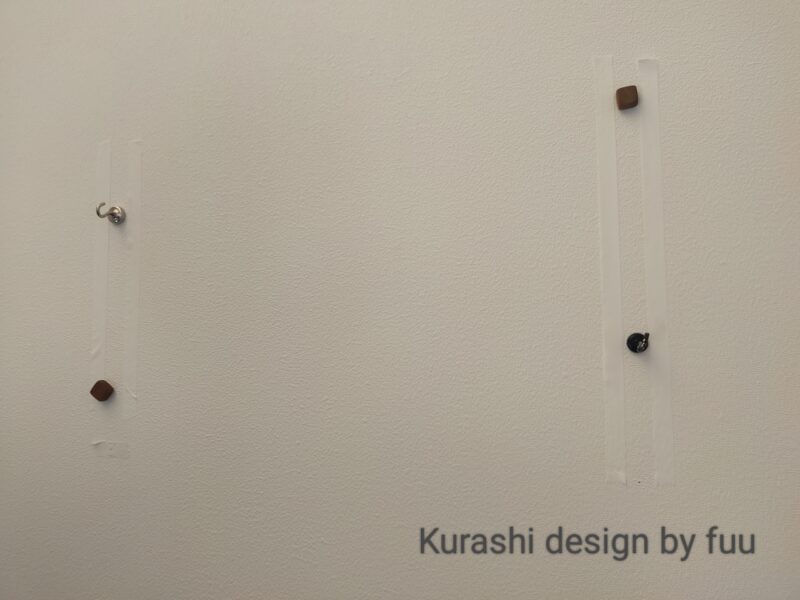
アドベントカレンダーをひっかける場所を確認
fuu我が家には良い場所がなかったので、何もなかった壁に
フックを2つ取り付けました。
ご自宅で、アドベントカレンダーをひっかけられる場所の
確認をよろしくおねがいします。
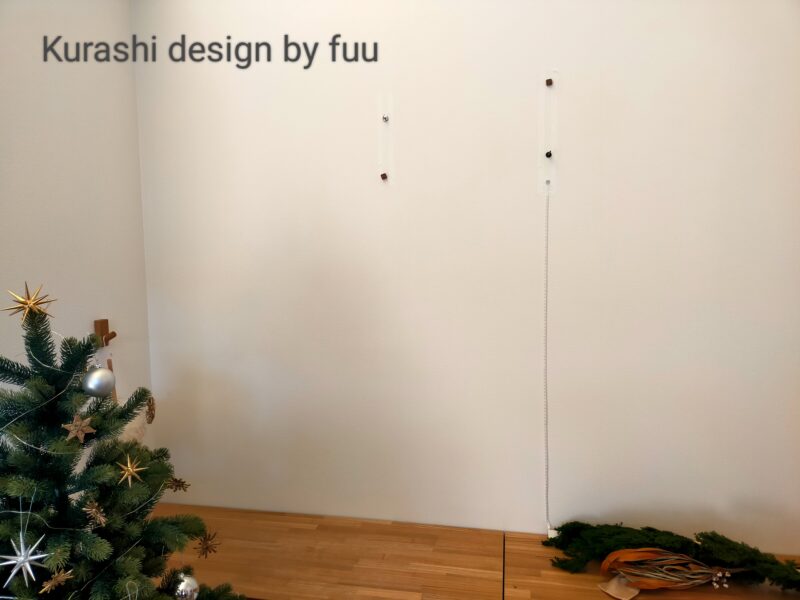
 fuu
fuu私が使用したものは、柱にとりつけたので
フック1つあたりの耐荷重が40kgだそうです。
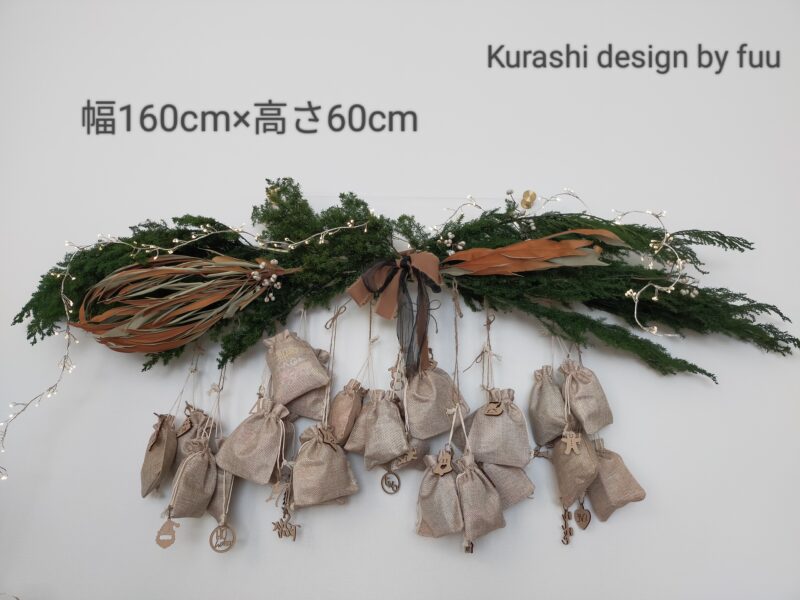
作業時間と準備時期
fuu今回、私がアドベントカレンダーを作るのにかかった時間は
2~3時間です。オススメの完成時期は11月半ばです!
子どもがテレビを見ている間、お昼寝をしている間などの時間で、少しずつ進めました。
自宅で全てできるので、時間がない方でも、少しずつ進められます◎
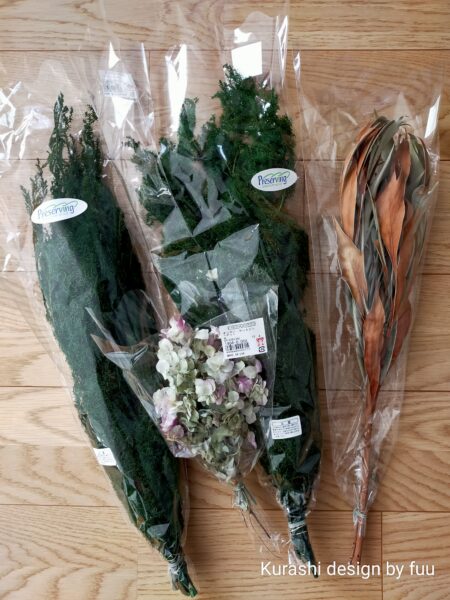
材料
DAISOで買える材料
- 突っ張り棒
- テグス(0.5mm幅)
- 麻紐
- アレンジワイヤー
- お好きなプレゼント(我が家購入分は後でご説明します)
楽天で買える材料
- ヒムロスギ(こちらを2つ使用しました)
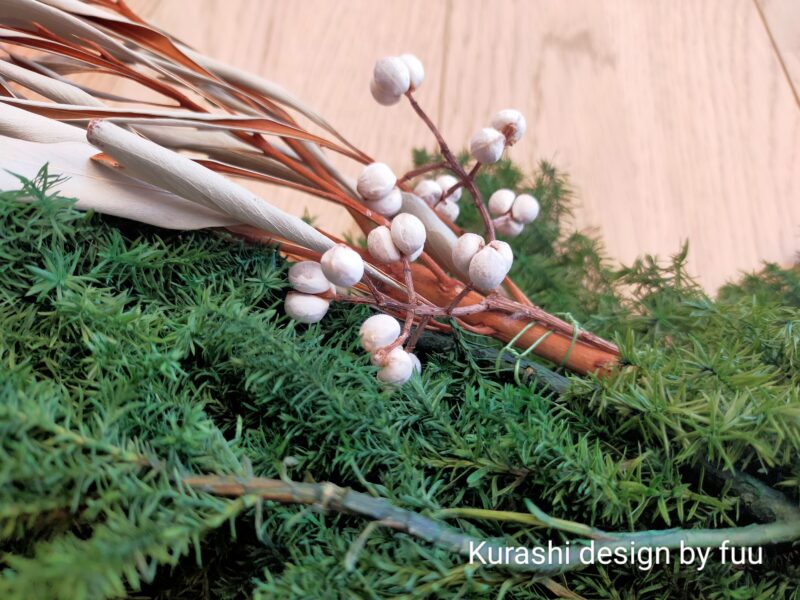
- お好みのドライフラワー(私はこちらのグレビリア・ゴールドにしました)
- オーガンジーリボン(ブラック)
- フリンジリボン(30mm幅ローズダスト)
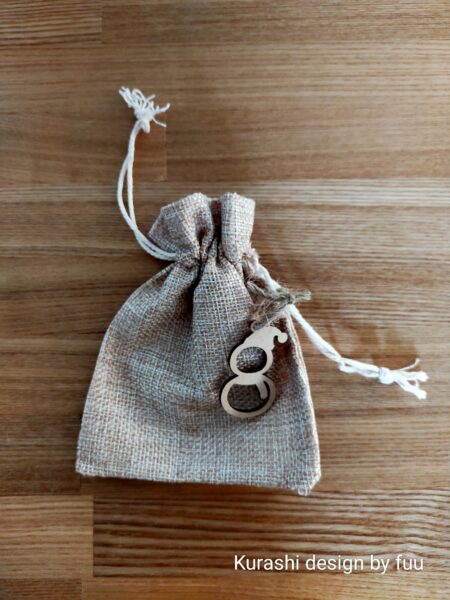
- 麻袋
- ナンバータグ
 お悩みさん
お悩みさんリボンは2m単位かぁ・・・長いなぁ・・・
fuuメルカリでも同じようなリボンを
切り売りしている方がいらっしゃいます。
検索してみてくださいね!
fuu他にも候補にあがったドライフラワーをご紹介します!
お好みのドライフラワーで、アレンジしてみてください♪
アドベントカレンダーの作り方
 お悩みさん
お悩みさん作業にはどれくらい時間がかかりますか?
fuuSTEP1~2が約1時間
STEP3~7が約1~2時間かかりました。
ご自身で、少しずつ時間がとれそうな時に
チャレンジしてみてください!
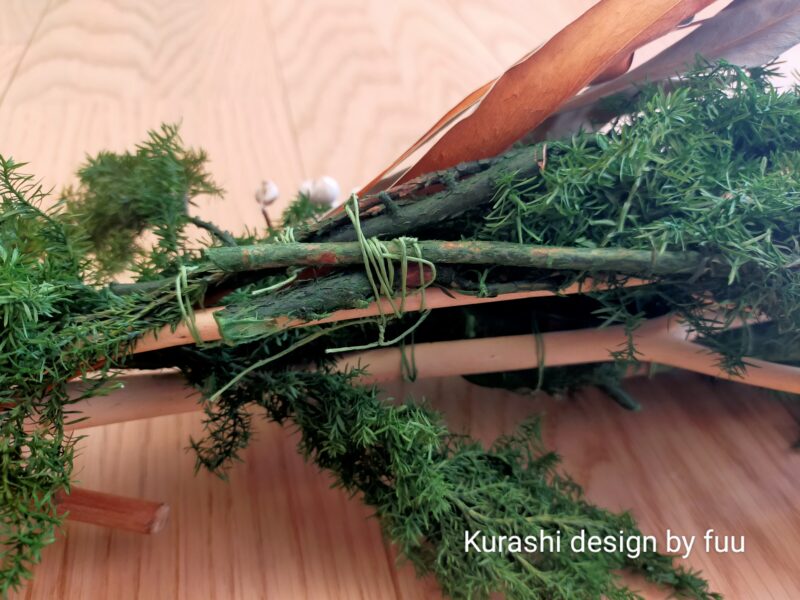
fuu我が家は、使う予定のなかったミツマタ(上写真で肌色の木肌のもの)が家にあったのでそれを土台にしていますが、ご紹介した突っ張り棒や
他の頑丈な(ポキっと折れない)棒でも大丈夫です!
①突っ張り棒などを横に置き、ヒムロスギを左右にバランスを考えながら、上に置いていく
fuu真ん中を起点に、少しクロスさせるようなイメージで置いてみました
②ヒムロスギを1本につき2~3箇所、アレンジワイヤーでとめていく
 fuu
fuu裏側は見えないと割り切って、どんどん取り付けていきます!
土台にしっかり固定することが重要です。
アレンジワイヤーを最後まできつくねじって固定させます。
ヒムロスギの角度を、それぞれ少しずつずらしていき
ワイヤーをとりつけていきましょう!
ヒムロスギが横一列にならず、動きが出てオススメです◎
①表面に向け、ヒムロスギのバランスを整える
②お好みの位置で、ヒムロスギとドライフラワーをアレンジワイヤーで固定する
fuu表面からアレンジワイヤーを固定するので、見栄えにも関係します。
ヒムロスギで隠すなど、工夫してみてください。
 fuu
fuu家にあったナンキンハゼのドライフラワーも一緒に取り付けてみました
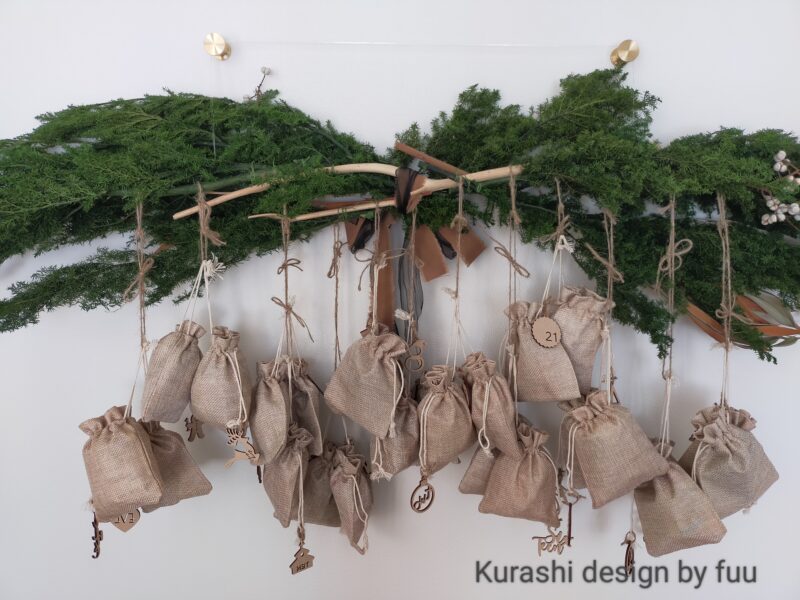
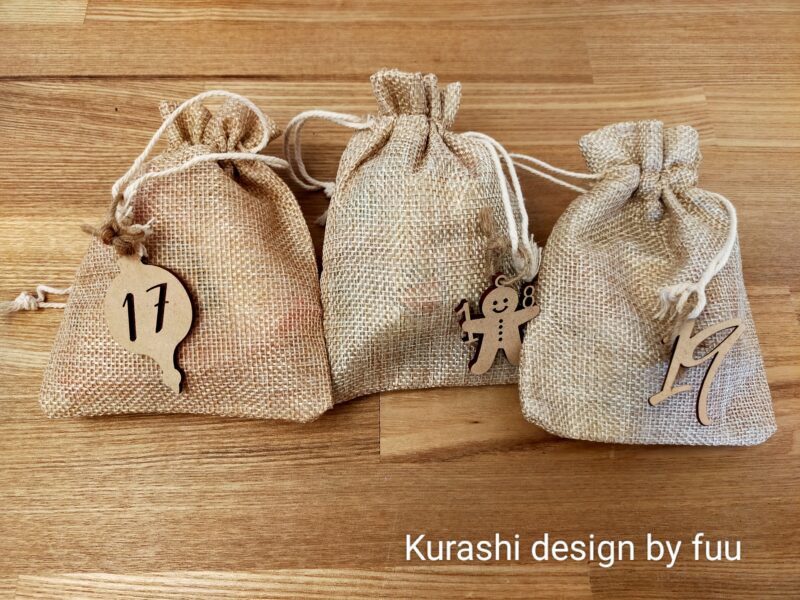
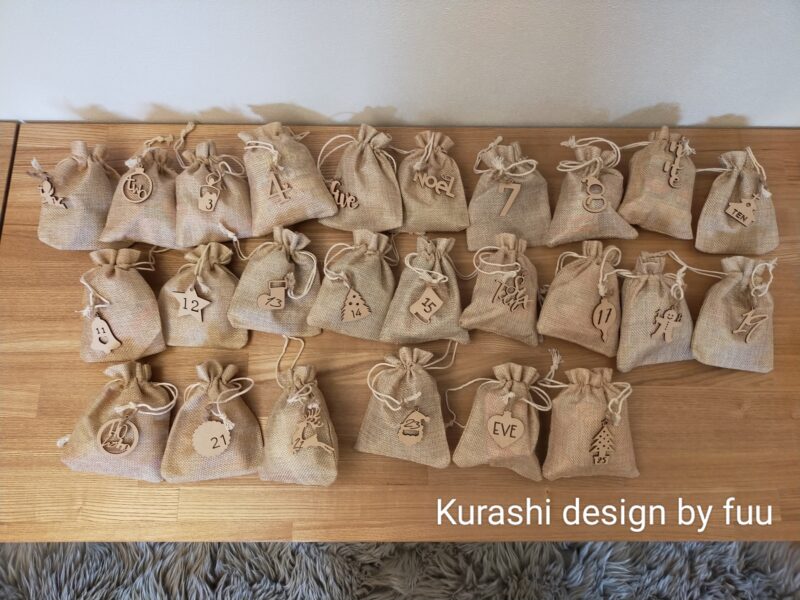
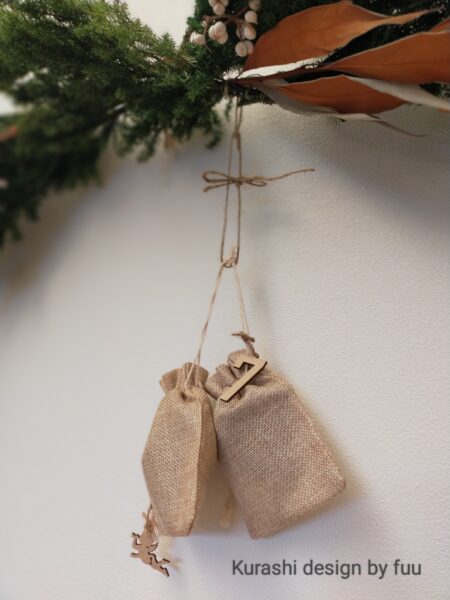
バランスを見ながら、麻袋をぶら下げる用のわっかを12個作ります。
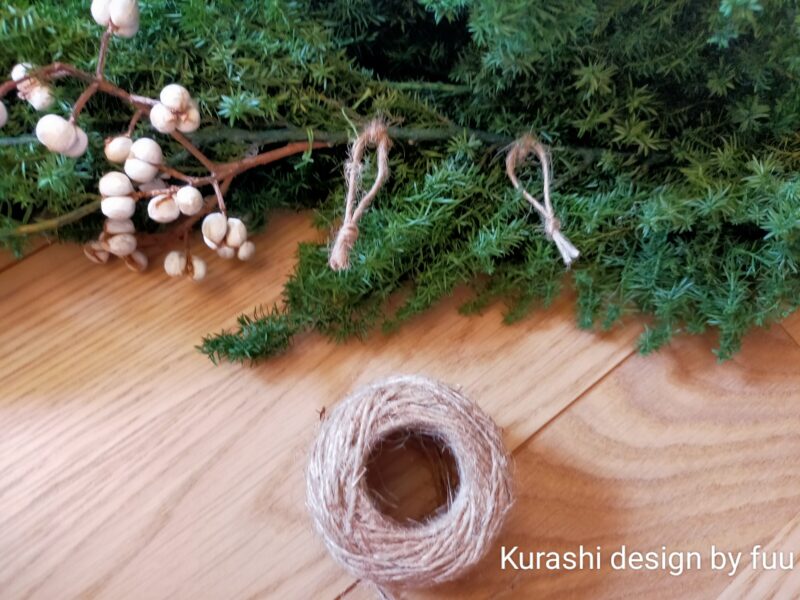 fuu
fuuバランスの良い箇所(ヒムロスギでも土台の棒でも)に
麻紐をくくりつけ、わっかを作りましょう。
一度ヒムロスギと麻紐を固定させるのがポイントです。
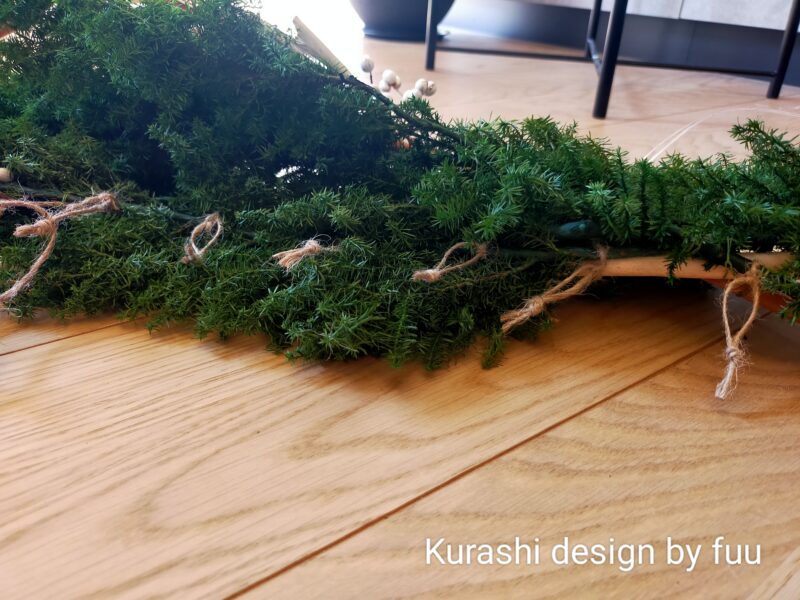 fuu
fuu表面、裏面、どちらから取り付けても良いと思います!
私は裏面から取り付けました。
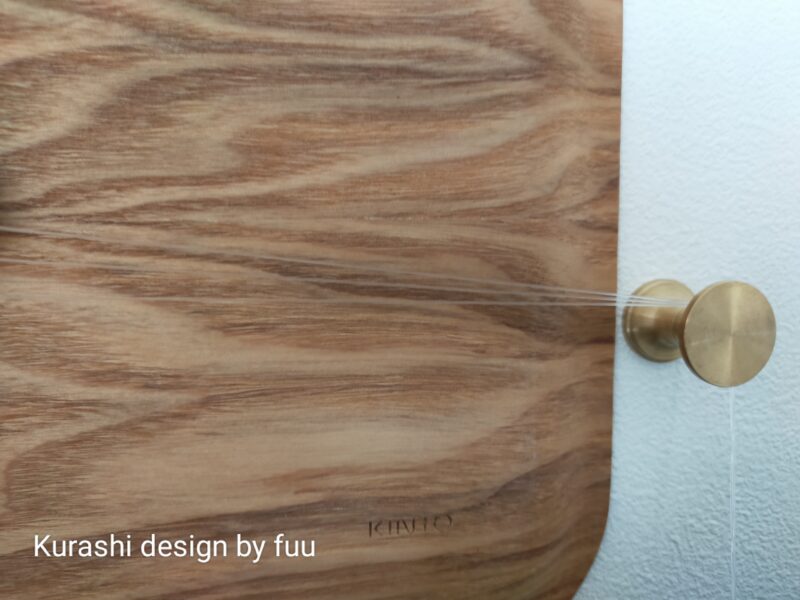
①強度を強くするために、0.5mmのテグスを3重にして、土台の棒にくくりつけます。

②真ん中の起点にリボンを2つ重ねて、ちょうちょ結びをする
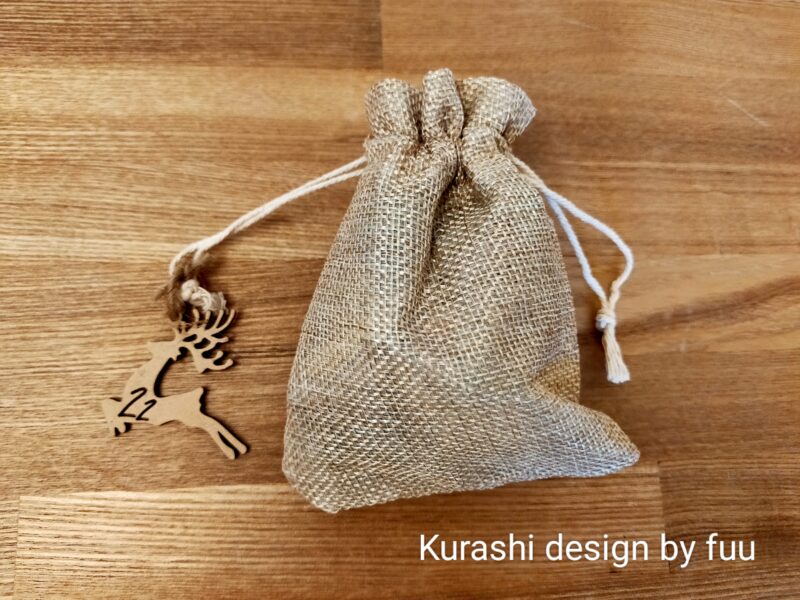
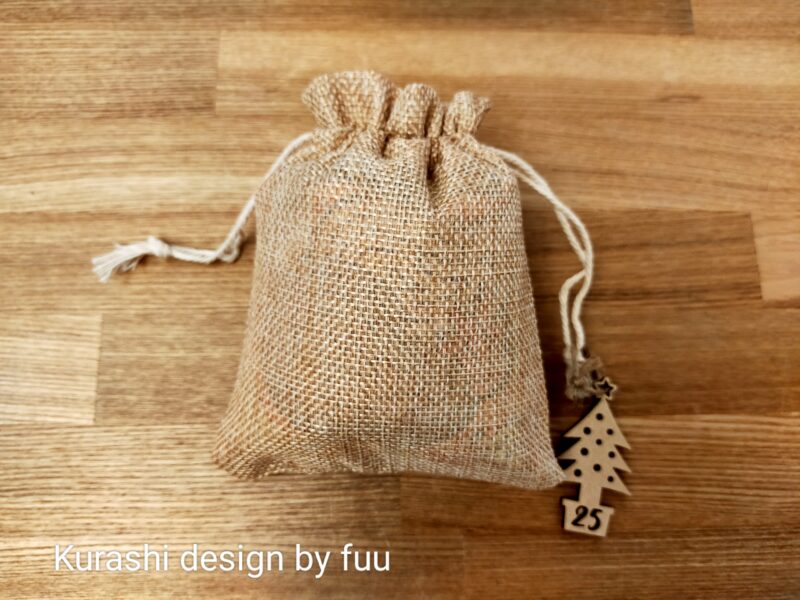
麻袋の持ち手部分に、麻紐でナンバータグを取り付けます
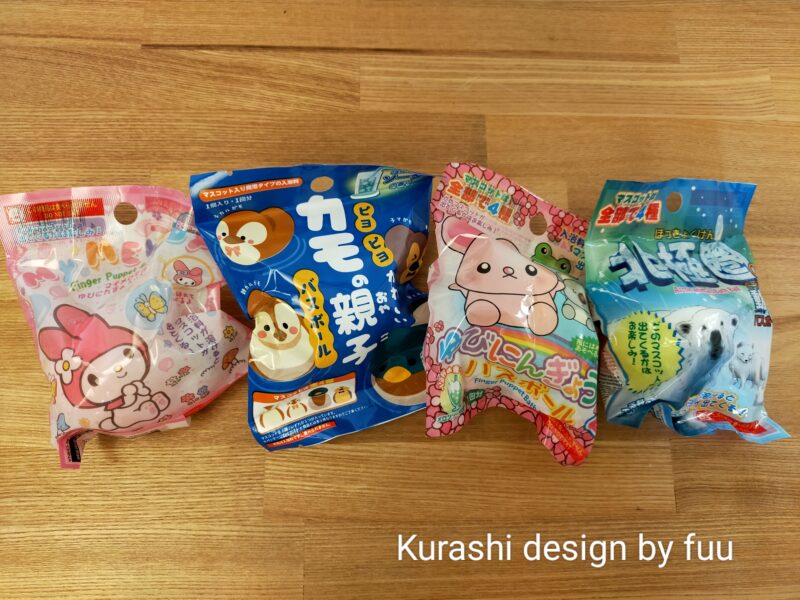
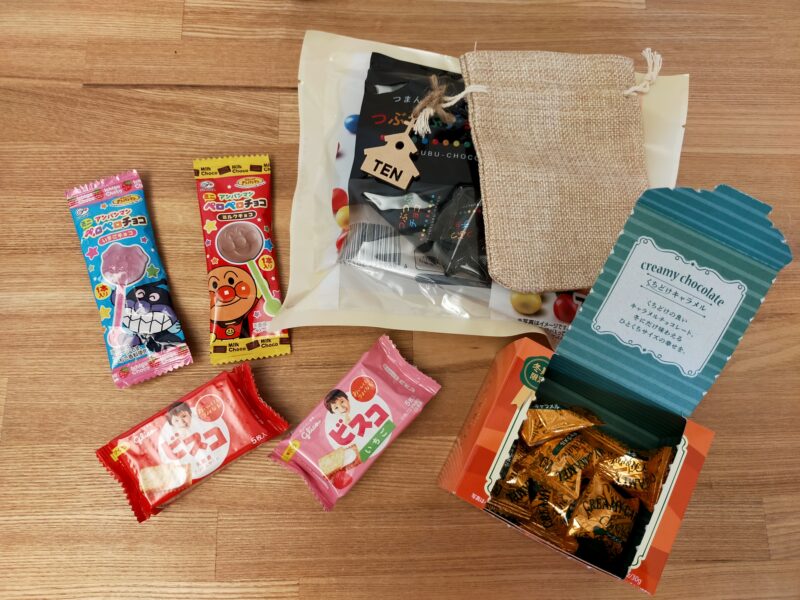
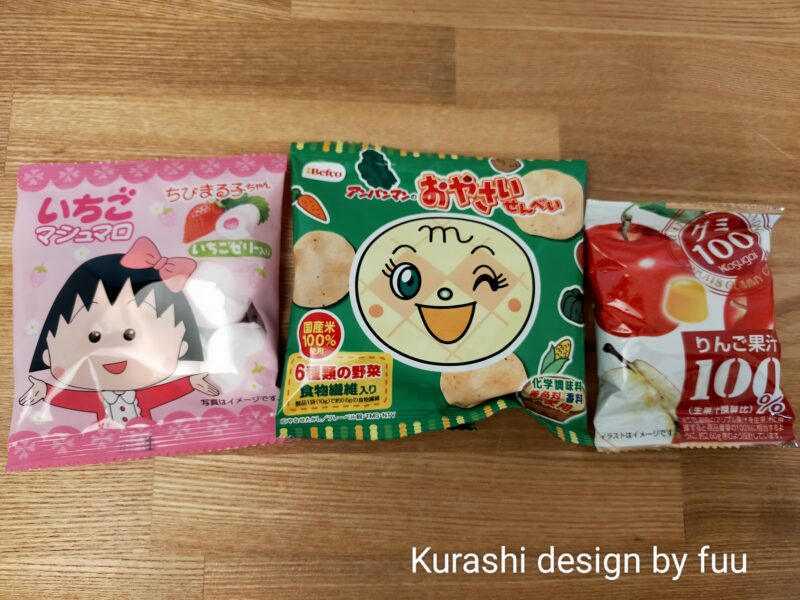
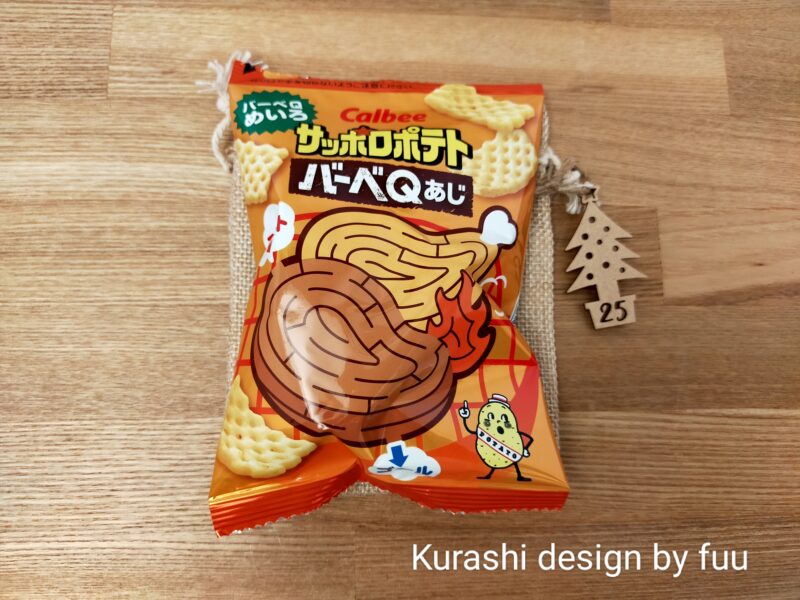
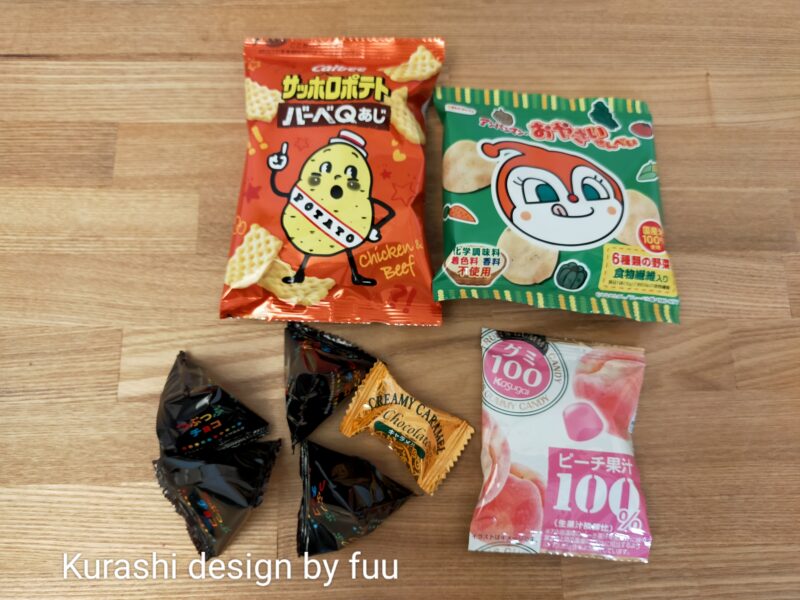
麻袋に、お好みのプレゼントを入れます
fuu我が家はDAISOで、バスボール4つと
おやつ700円分を購入しました。
 fuu
fuu小さめサイズのおやつなら、2~4個程度入りました!
 お悩みさん
お悩みさんえっ?無理じゃないですか?笑
 fuu
fuu入っているか入っていないかは、ご自身のご判断でお願いします!笑
 fuu
fuu1個しか入らないものもあるので、きょうだいでケンカになるかも。
色々工夫してみて下さい!
来年のアドベントカレンダーのプレゼントにこちらも素敵です!
step3で作った輪っかとプレゼント2つ~3つを、麻紐でくくる。(外しやすい取り付け方で)
 fuu
fuu作業お疲れ様でした!
お気に入りのライトや雑貨でアレンジしてみてください♪
我が家のライトはこちらです。
アドベントカレンダーの作り方まとめ
- アドベントカレンダーをひっかける場所を確認
- 材料を準備する
- 作業時間2~3時間で完成
fuuアドベントカレンダー作り、是非楽しんでみてくださいね!
後悔なし!リアルな家づくりの始め方の
レビューはこちら


コメント